To create a new requisition (or job posting), please follow the following instructions:
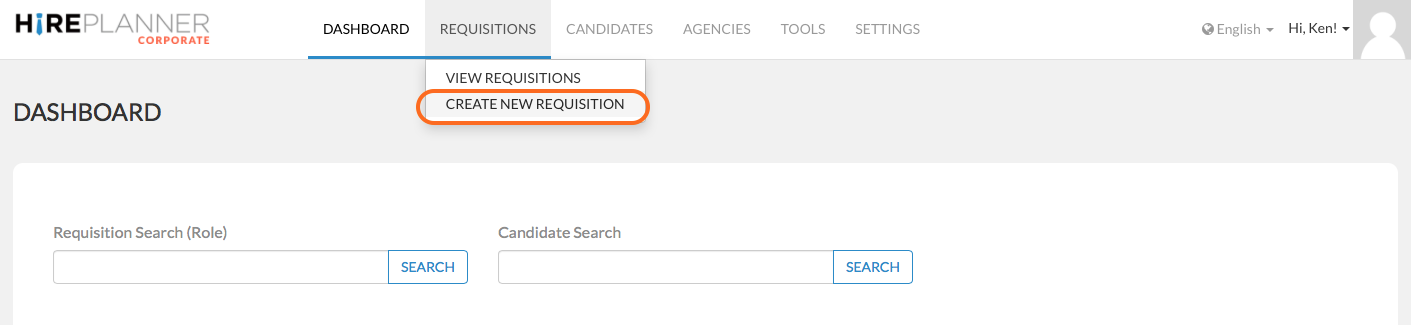
- On the top navigation menu, please click on “Requisitions”
- Select “Create New Requisition”
- Please fill out the requisition form and include all the necessary information about your headcount.
IMPORTANT NOTES:
- When you create a new requisition, please remember to include at least 1 approver to make sure your requisition is approved internally. Without approving your requisition, you will NOT be able to publish it online (see more details below).
- Please keep in mind that fields that are followed by the "![]() " mark, will be accessible online when you job is published on your career website (and possibly other job sites). Other fields (without the "
" mark, will be accessible online when you job is published on your career website (and possibly other job sites). Other fields (without the "![]() " mark), will be limited for internal use only and will not be advertised online.
" mark), will be limited for internal use only and will not be advertised online.
1) USE JOB AS TEMPLATE:
If you want to copy an old requisition and automatically pull out its data, please type in the job title or the req ID# of the requisition you would like to copy and click on "COPY REQUISITION". Please make sure to make any changes that may be required.
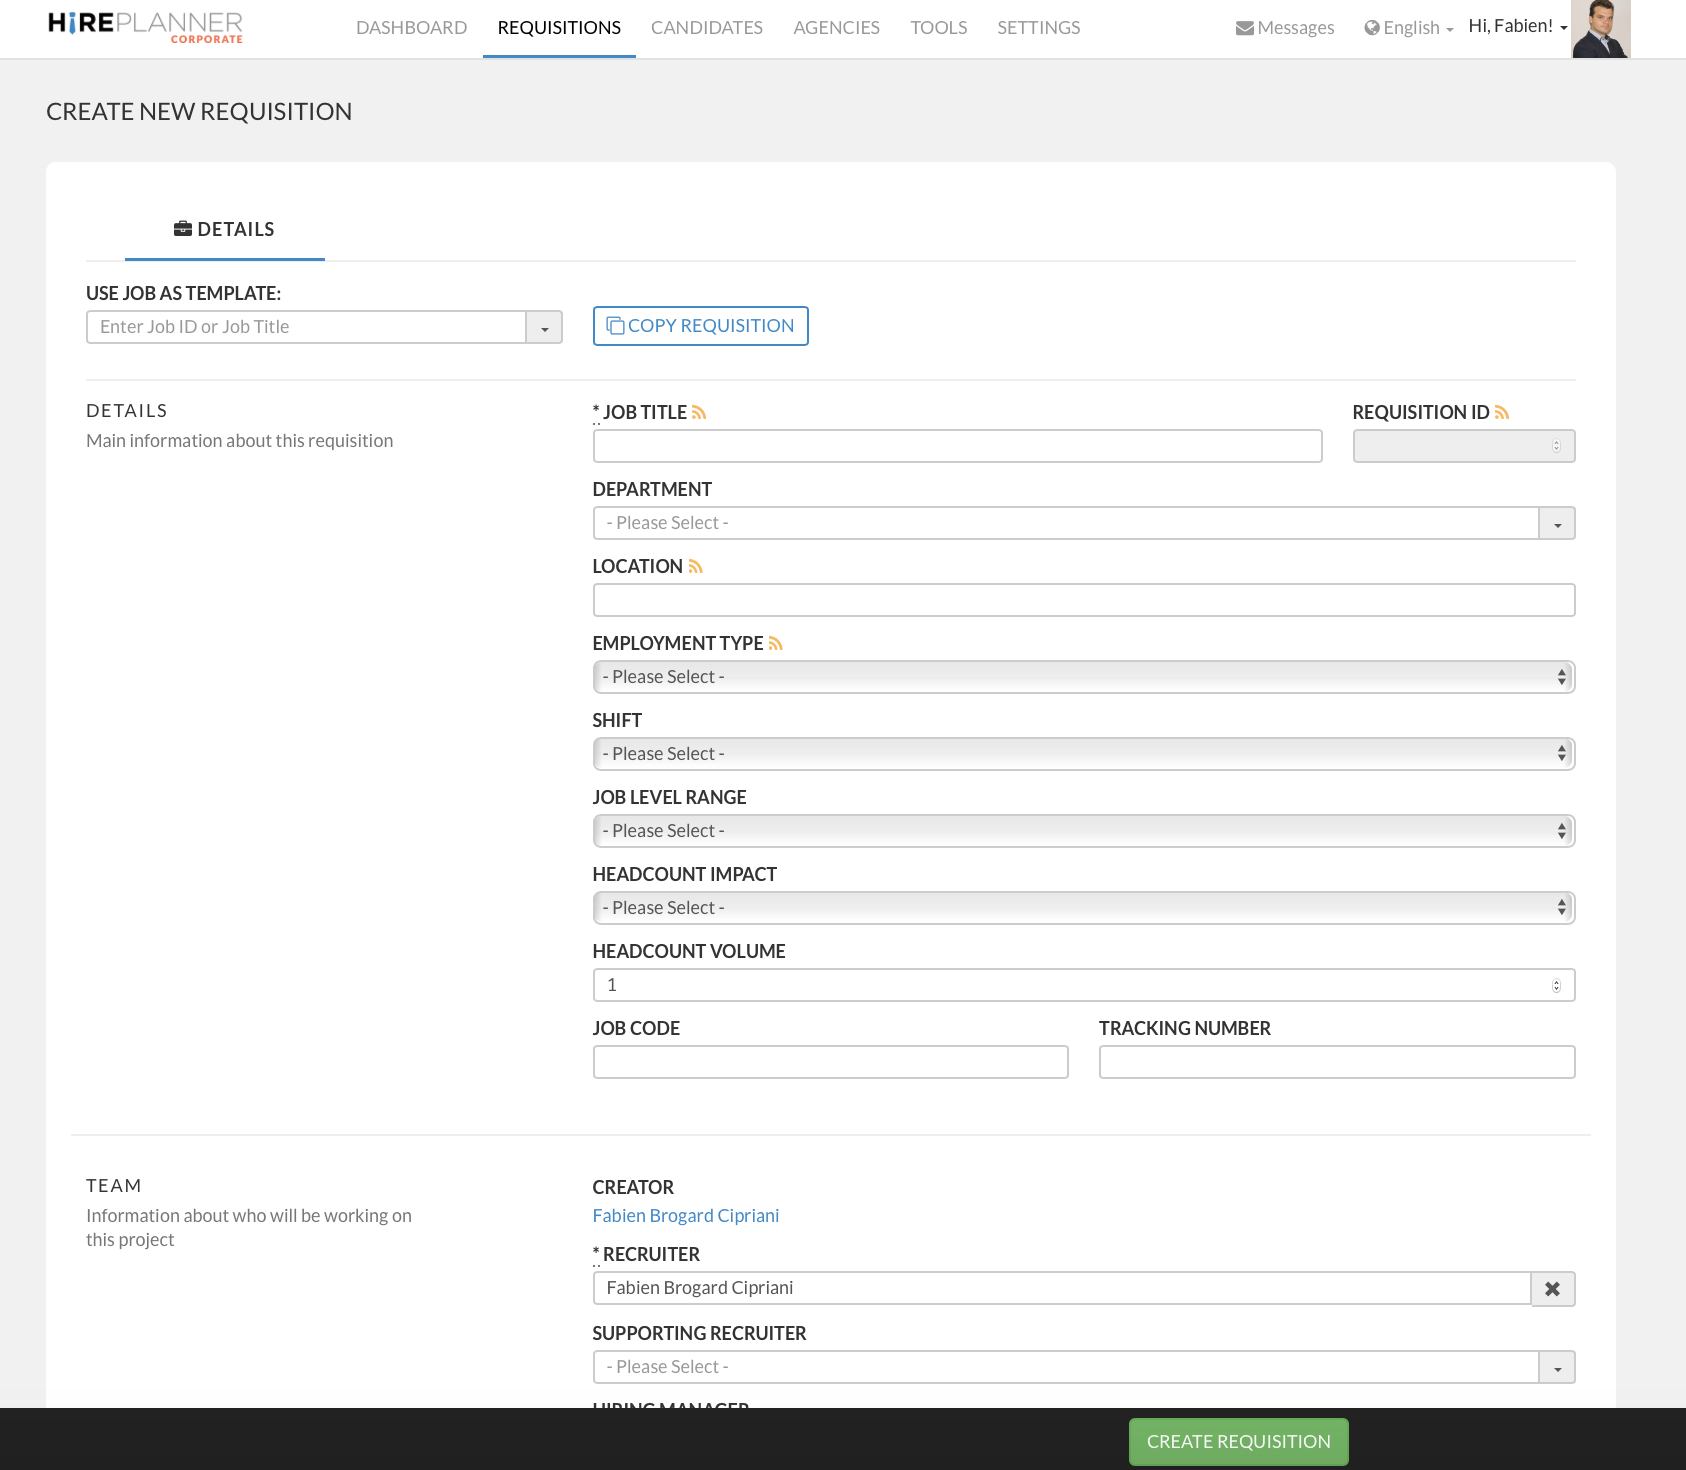
2) DETAILS:
- Job Title: Type in your job title and make it SEO friendly by including relevant keywords to help candidates find it in search engines.
- Job ID: This job ID is automatically generated by the HirePlanner system. It will appear on the job site when published online.
- Department: Select the department which the requisition belongs to.
- Location: Type in the location of the role (city)
- Employment type: Select the appropriate category from the drop down
- Shift: Select the appropriate category from the drop down
- Job Level Range: Select the appropriate job level from the list you have created
- Headcount Impact: Select the appropriate category from the drop down
- Headcount Volume: Type in the number of headcount this requisition is for. Some requisition may be for one single headcount (e.g.: 1 department manager...) or for multiple headcount (e.g.: 5 store sales staff).
- Job Code: This field is optional and is for companies who may need to store additional internal data.
- Tracking Number: This field is optional and is for companies who may need to store additional internal data.
3) TEAM:
- MAIN RECRUITER:
Main recruiters assigned to a requisition have full access to the requisition details, candidate pipeline and can communicate with both direct applicants and agencies who submitted candidate introductions. You can only assign 1 (ONE) main recruiter to a requisition.
- SUPPORTING RECRUITERS:
Supporting recruiters are other members from the HR recruiting team assigned to the requisition. They are usually in charge of supporting the main recruiter with the recruiting process for a requisition. Supporting recruiters can be involved in the day to day recruiting work, interview coordination tasks, sourcing and/or the communication process with either candidates or recruiting agencies.
Supporting recruiters (in HirePlanner) have full access to the requisition details they are assigned to (same like the main recruiter). You can choose to assign a supporting recruiter when away on business trip or on holidays. This field is optional.
⚠️ IMPORTANT NOTE:⚠️
1) Supporting recruiters will also receive an email notification each time a candidate applies for the requisition or when a recruiting agency introduces a new candidate for that requisition.
2) Please remember that supporting recruiters will be cced on all communications attached to the requisitions they are assigned to (e.g.: conversations with either candidates or agencies).
3) Supporting recruiters will also receive an email notification each time an interviewer submits an interview feedback for a candidate attached to the requisition they are assigned to.
- HIRING MANAGERS:
The hiring managers are people who will manage the person who will get hired under the requisition. In other words, the person who gets hired for the requisition will be reporting to the hiring manager who is assigned to the requisition.
⚠️ IMPORTANT NOTE:⚠️
If you assign someone as "hiring manager" to a requisition, he/she will be able to view (read only) the requisition details that are assigned to them. They will be able to view the Job description of the requisition, its candidate pipeline, candidate applications along with their resume details and interview feedback. ONLY the Hiring Manager has such kind of access level and visibility.
Currently, Hiring managers cannot have access to HR email communications with the candidates or agencies. Hiring Managers also do not receive email notifications a) when a new application is received and attached to their requisition or b) when a new candidate feedback has been submitted by a member of the interview panel.
- INTERVIEWERS (Interview Panel):
Select the names of the people you wish to include on the interview process for this requisition. We recommend you to systematically include the names of your interviewers from the beginning since it will help you save time while scheduling your interviews after you start receiving candidate applications. If you do not know what the interview panel will look like, do not to worry because you will be able to complete this part later in the process.
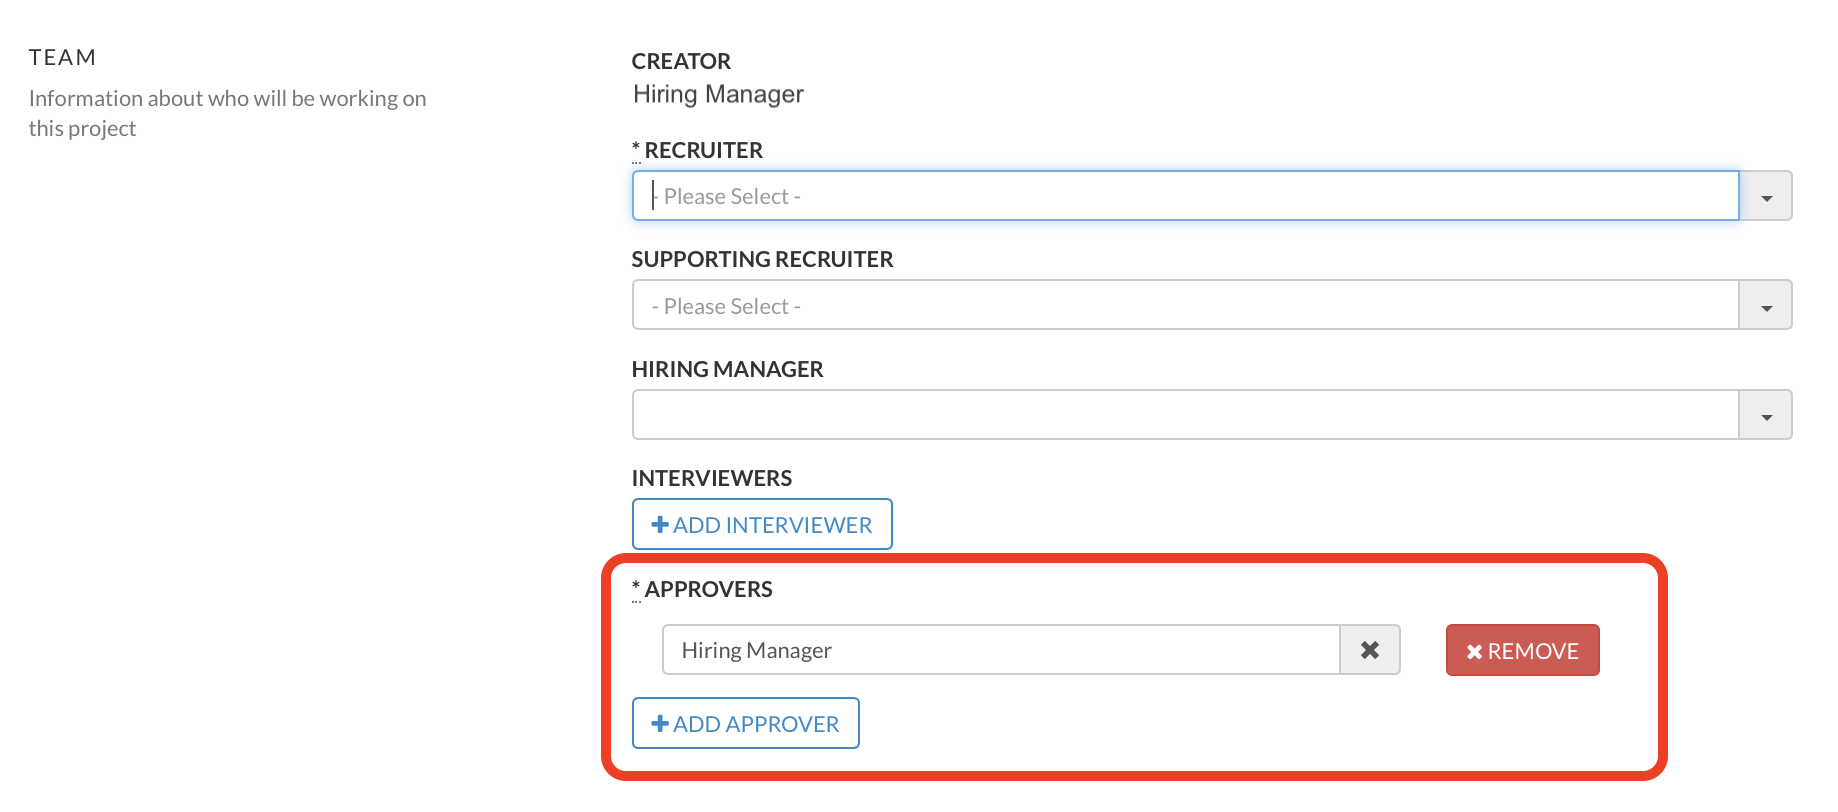
- APPROVERS:
⚠️ Please make sure to select a minimum of ONE APPROVER. If you save your requisition without including an approver, you will not be able to raise it for approval and your requisition will be listed as "DRAFT". Draft requisitions cannot be published online.

Once your requisition form is complete and includes a minimum of 1 approver, please save it and raise it for approval. Once it is approved, you will be able to publish it and advertise it online.
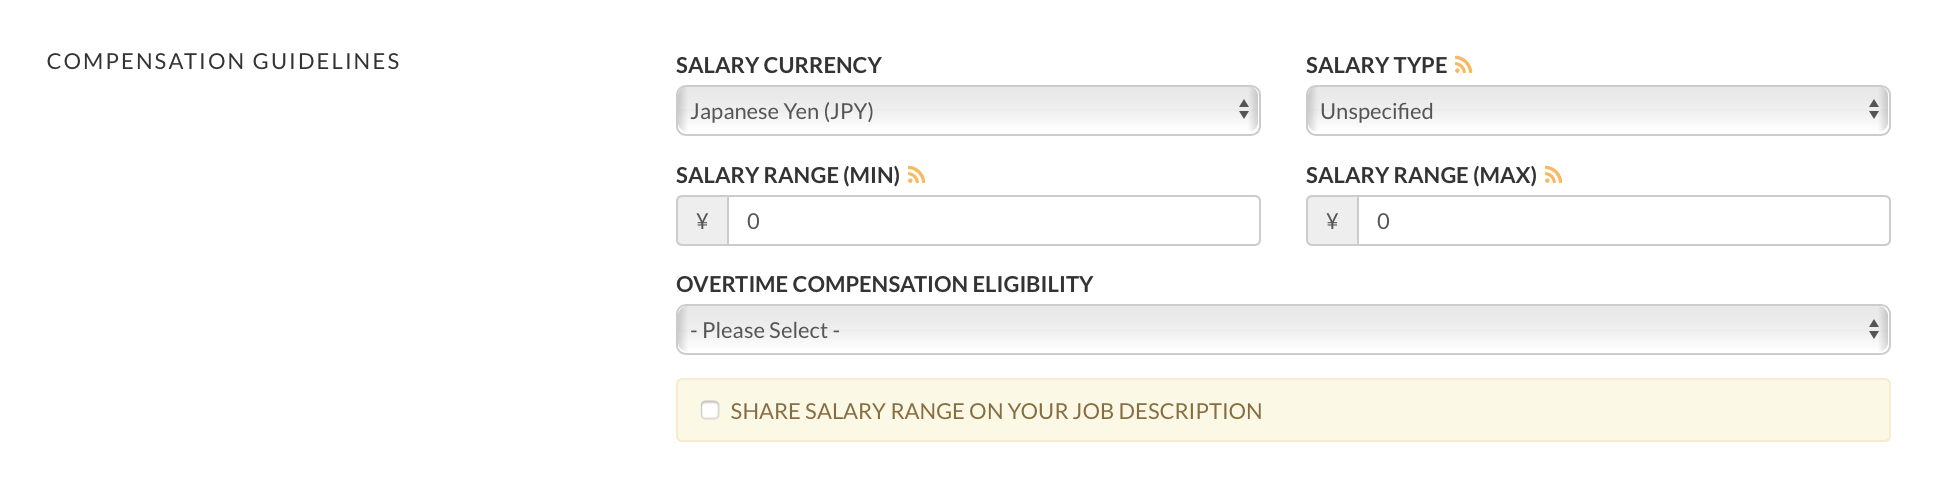
4) COMPENSATION GUIDELINES:
- Salary Currency: Please indicate the currency of the salary to be offered to the selected candidate(s).
- Salary Type: Please select the salary type from the drop down.
- Lower & Higher Salary Range: Enter both the minimum and maximum compensation range for this role. If you publish your requisition and advertise your job posting online, please make sure your minimum salary amount is not below the official Japan minimum wage. If your role does not offer at least the minimum wage required by the law in Japan, your requisition will not be listed on some of the job sites we provide to maximize your exposure (example: Indeed.com).
- Overtime eligibility: Select from the dropdown category
- Check box: Click on the check box in order to share the salary range of your requisition when you publish it online on your career website and allow your role to be advertised automatically on other Japan focused job sites.
4) JOB DESCRIPTION:
All the job description content will be displayed online if/when you choose to publish your requisition online. Please take your time to write an appealing and accurate job description that can inspire candidates to apply. Please also try to include as many keywords as possible to help candidates find your opportunity via search engines. The most important fields where you should include your keywords are in both the "job title", "tags" and the "summary".
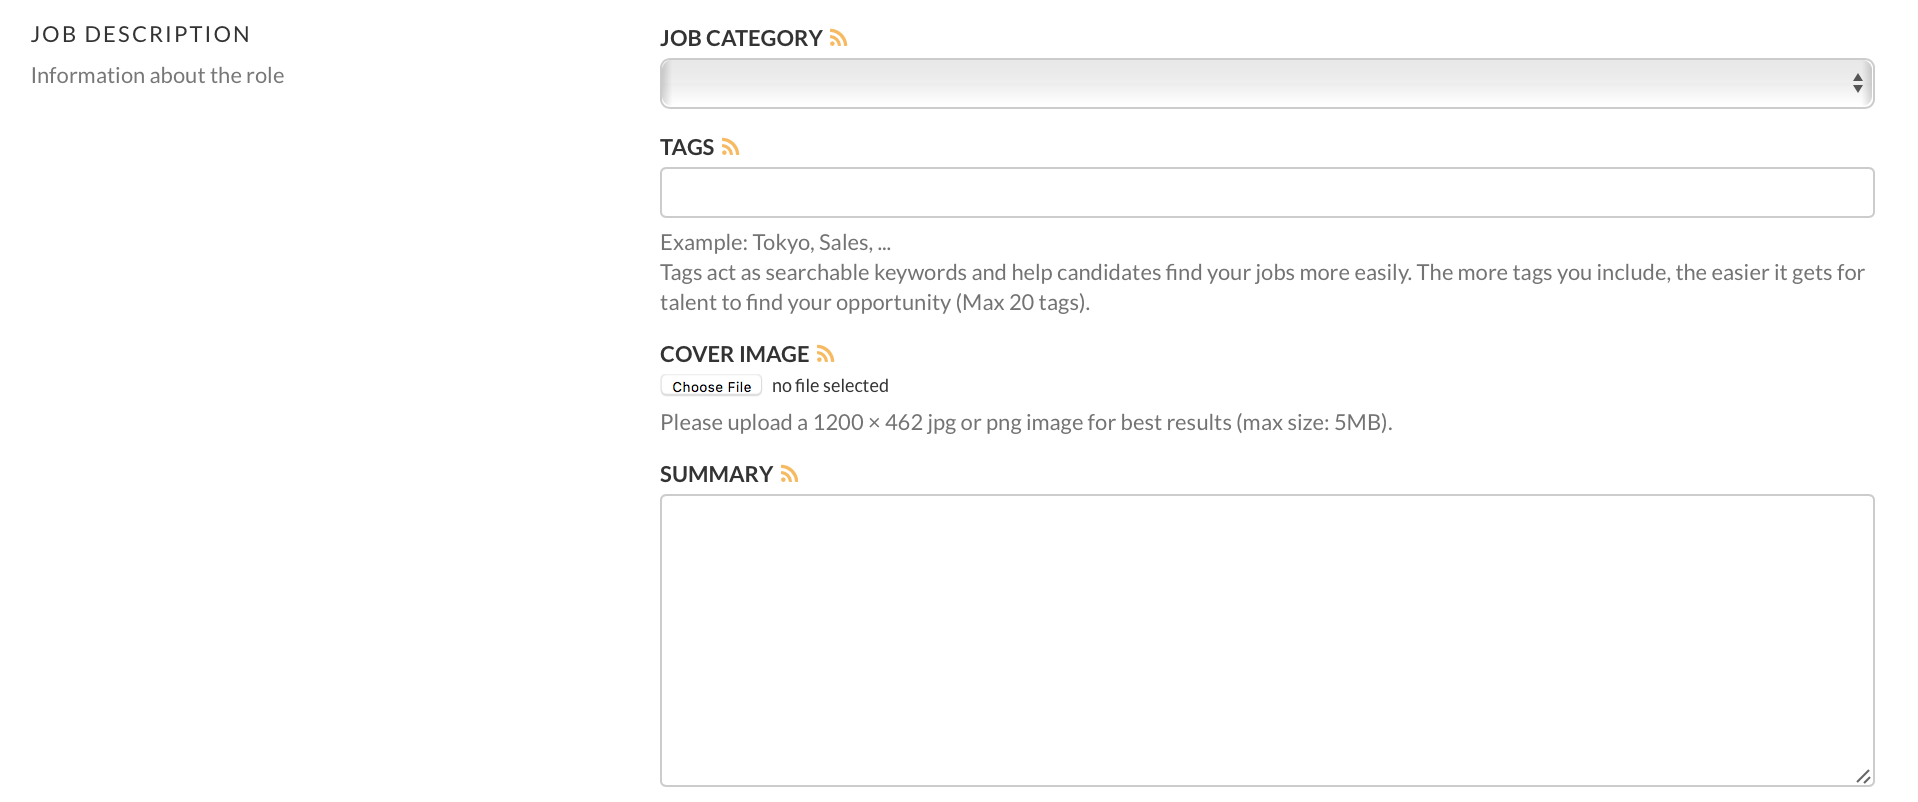
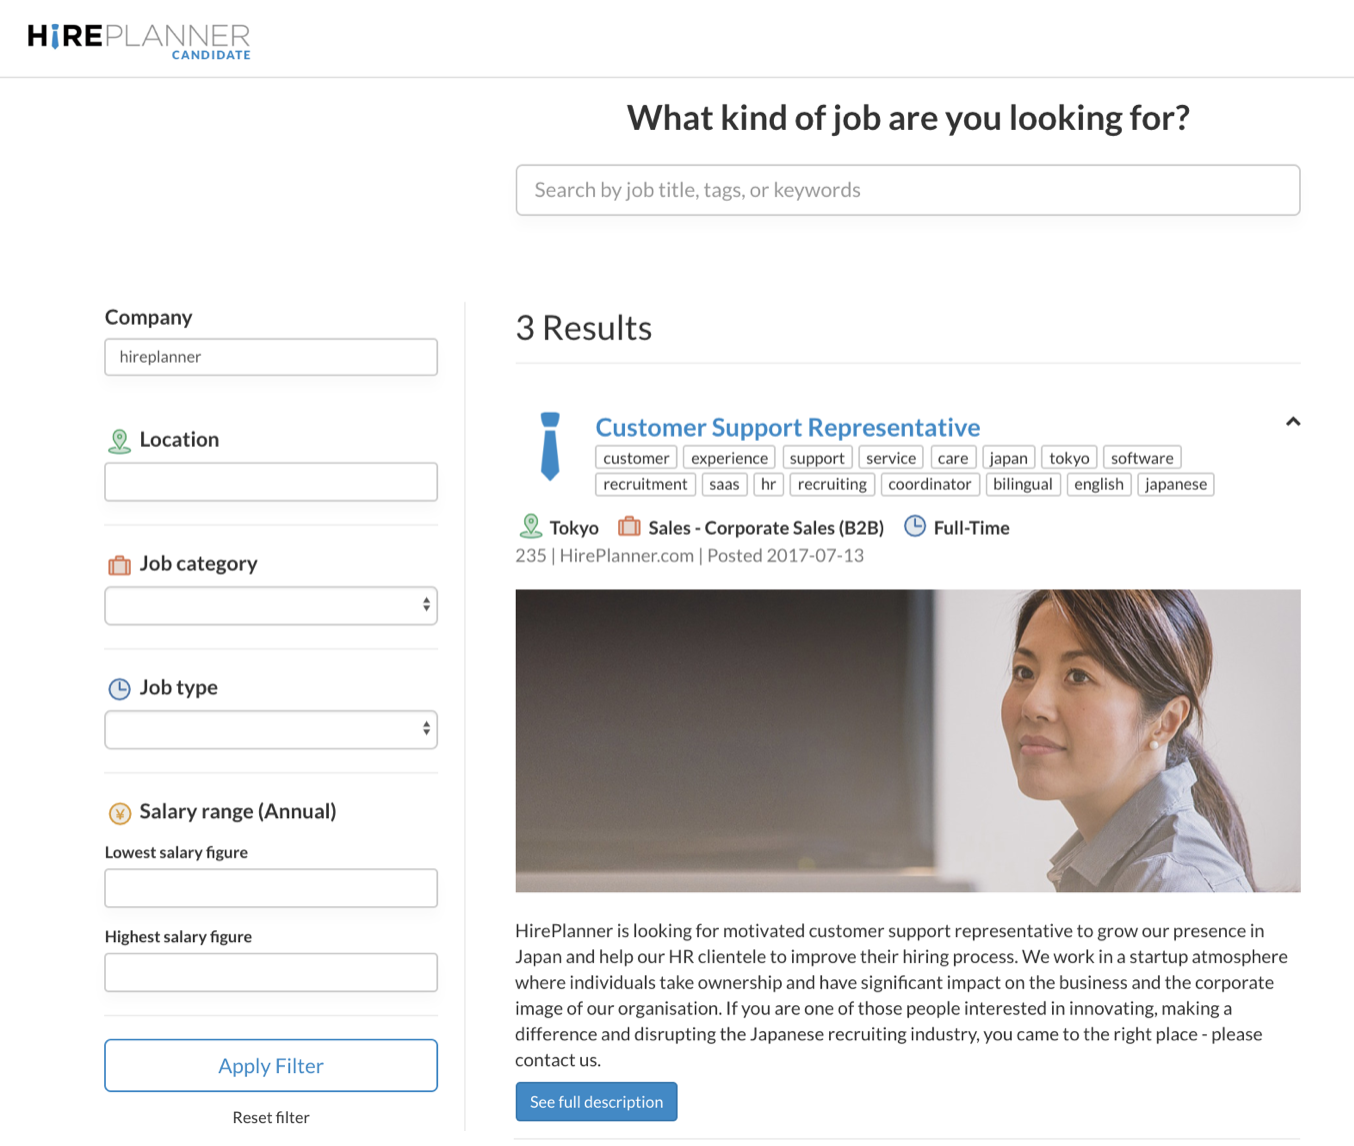
To maximize the impact of your job posting and catch the attention of suitable candidates, please also include a "cover image". It will appear just above your job summary (see example below).
5) ADVERTISED BENEFITS:
Provide as much data as you can to show potential candidates how your organization supports its employees and care about their lifestyle and career development (Example: Working Hours, Compensation & Benefits, Holidays, Training etc.).
6) PERSONAL NOTES:
You can use this section of the requisition form to take notes about the role. Those will remain confidential and will not be advertised online on your job posting. It will only be visible to the Hiring Manager if he/she chooses to access their req details page.
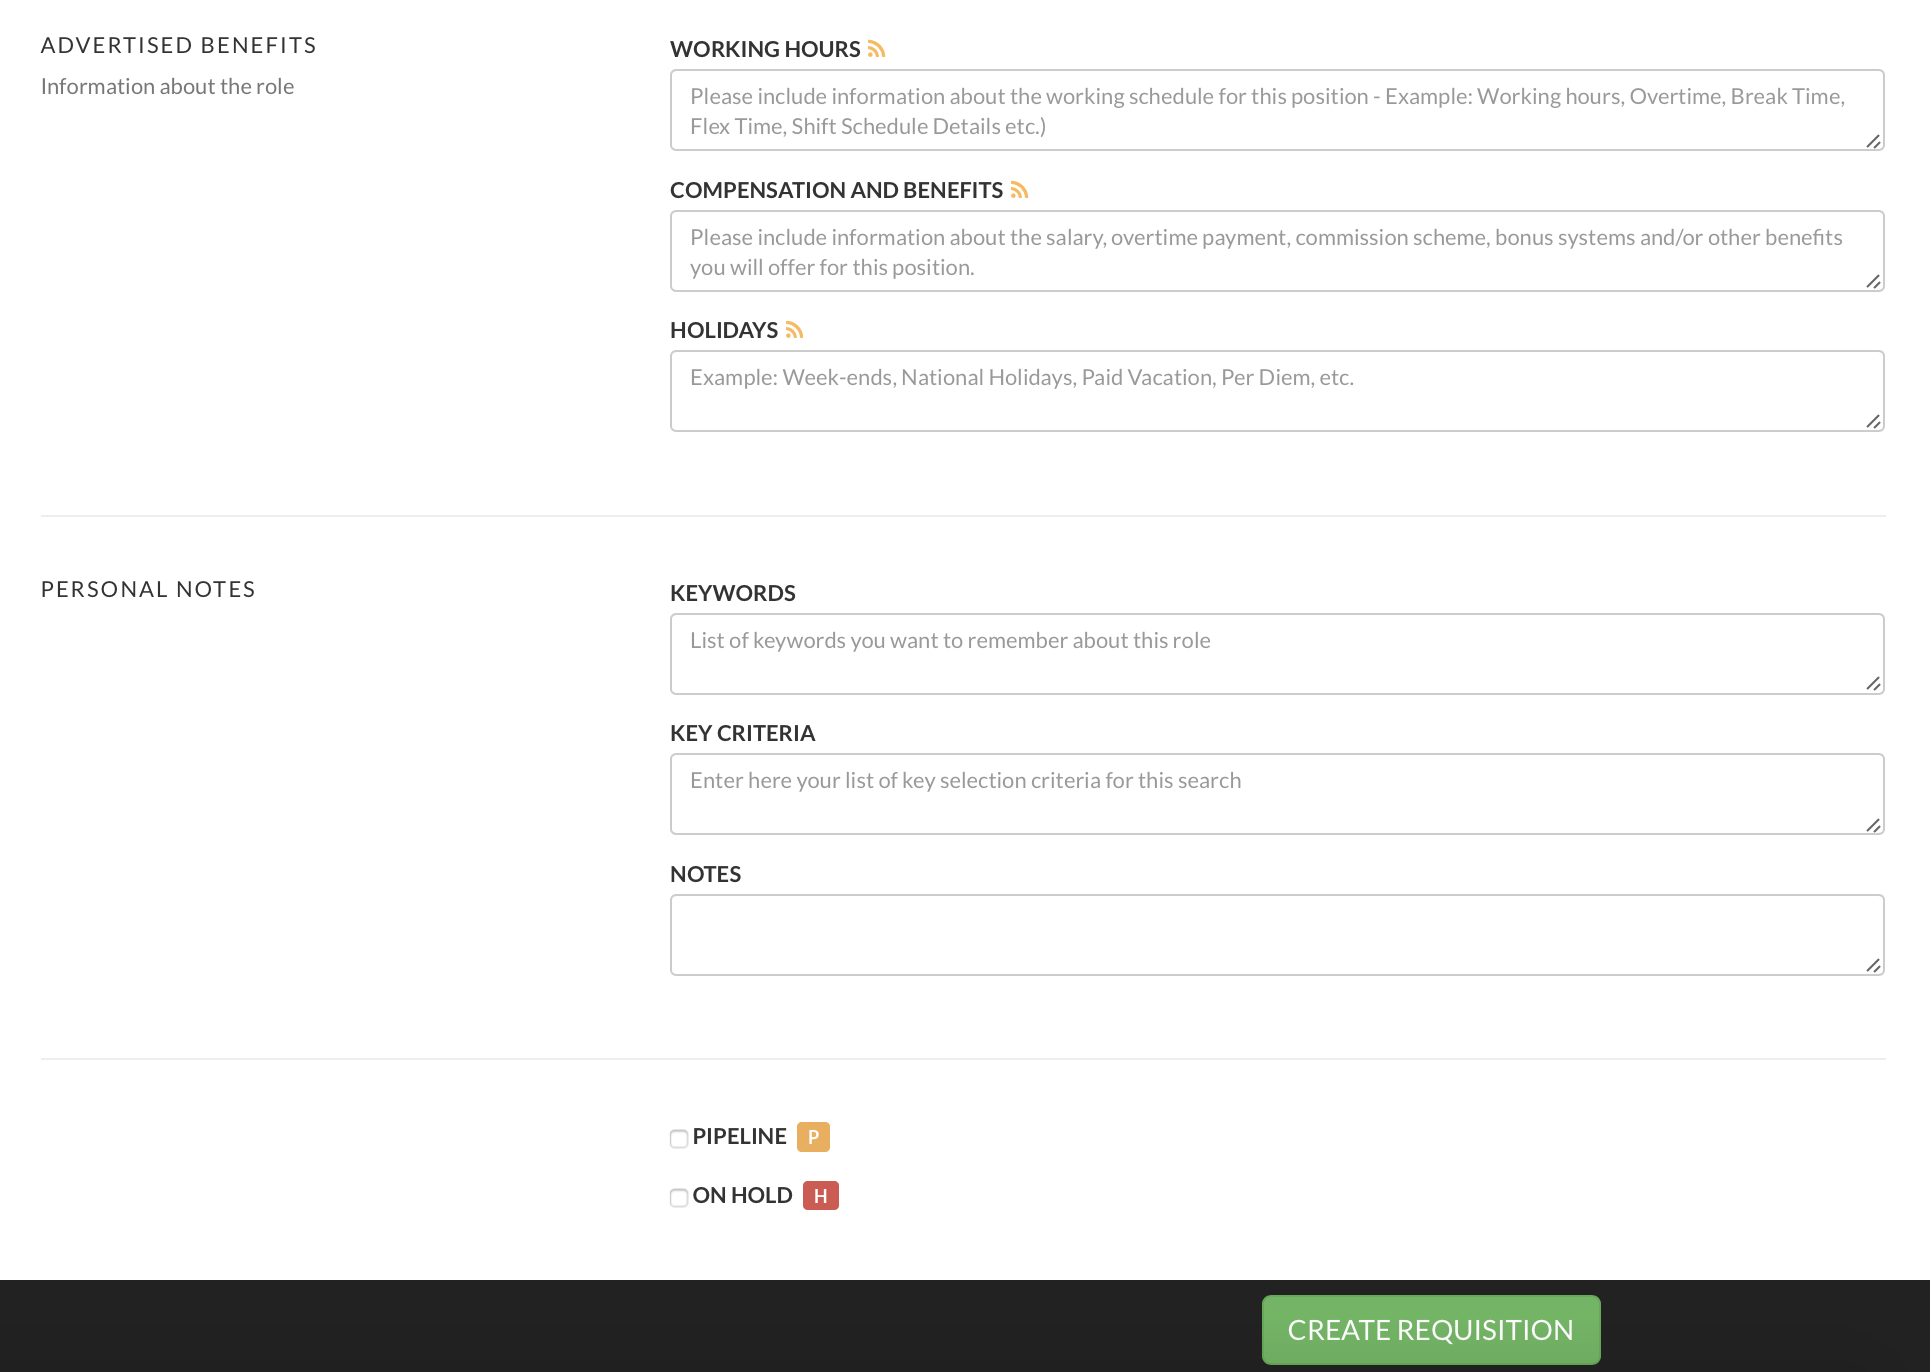
7) PIPELINE CHECK BOX:
Located below the Job Description content on your Requisition form, the “Pipeline” check box will help you to tag some of your requisitions and distinguish more easily between the official headcount and the ones you raise for testing purpose or to build your “Pipeline” ahead of time.
When you select the "pipeline" check box, a ![]() mark will appear in your requisition status column on the right side of the status itself (Draft, Pending, Open etc. - See attached below).
mark will appear in your requisition status column on the right side of the status itself (Draft, Pending, Open etc. - See attached below).

8) ON HOLD CHECK BOX:
Located as well below the Job Description content on your Requisition form, the “Hold” check box will help you to tag some of your requisitions and distinguish more easily between the official open headcount and the ones that have been put “on hold” temporarily or permanently. This tag will be especially be useful to help you identify requisitions that require the most attention and urgency.
When you select the "On Hold" check box, a ![]() mark will appear in your requisition status column on the right side of the status itself (Draft, Pending, Open etc.. - See attached above).
mark will appear in your requisition status column on the right side of the status itself (Draft, Pending, Open etc.. - See attached above).
9) CREATE REQUISITION:
Once you have completed the form, please click on the “Create Requisition” button at the bottom of the page in order to save your search project.
10) RAISE AND APPROVE REQUISITION:
You can now raise your requisition and start the approval process.
For more details, please click on "How to approve a requisition?"
Comments
0 comments
Article is closed for comments.